John Wick (Diamond Select) Brick EL Wire (Neon) Wall Add-On

First of all: this is by no means 100% „production ready“, it has its quirks to fix after printing, but it’s manageable and more or less easy too fix.

That being said, this is how it was done:
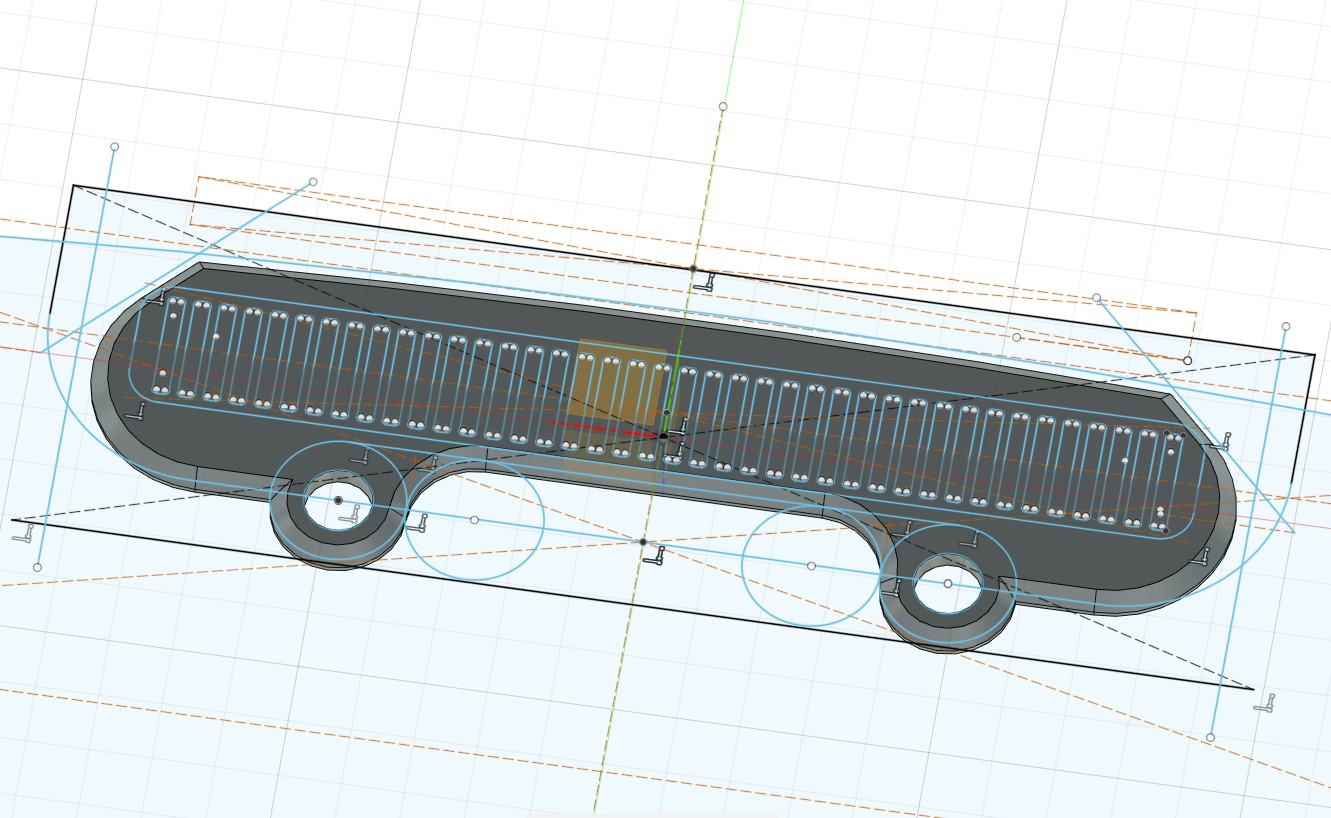
Measured the superb Diamond Select John Wick figure and decided to attach a brick wall with some neon-like electroluminescence wire as fake neon sign(s). First I had some dragon in mind, but that was too complex to pull off with EL Wire, so I looked around for other neon advertisement like images. The later found dragon head again was too finicky. But the chinese writing on the bottom „dragon“ (hopefully haha) was fine. Then I stumbled over the „Tsingtao Beer“ neon ad installment, which seemed doable, so I traced it in Fusion 360 to create a positive extrusion of the channels and holes needed, just like with the chinese writing before.

The wall texture is from „milvet“ here on Thingiverse, sadly the remix search is broken, so I just drop the link for now: https://www.thingiverse.com/thing:3708945

I combined it to the needed size, scaled it and made it two parts so it fits my 3d printers plate dimensions. After exporting the el wire channels from Fusion I positioned it in Microsoft 3D Builder and substracted it from the wall pieces.
There were some test iterations beforehand though, to find the correct diameter of the holes and channels. There even was a version with pegs at some point…
I then combined both wall pieces and painted them black, added some dark green, sand and stone gray, speckled with some light black. I still have no proper plan or idea how to paint effectively, but it’s fine the way it is I guess.
After all was dry I started adding the EL wire, which needs some cyanoacrylate glue in some points („superglue“). I soldered the different colors in series, which isn’t too hard but not easy either, especially stripping the isolation without destroying the inner phosphor coated core wire or the two „angel wire“ strands.
To mount the wall piece to the figure background I drilled two pilot holes and made them bigger, prepared two M3 screws each with 4 nuts, filled the holes with hot glue and positioned the nut/screw. After cooling I was able to unscrew the screws and mounted the wall. The glue isn’t the strongest but it works quite well (for now).
Last thing to fix is the inevitable audible buzzing of the EL inverter (which output is at about 100V/1800Hz). One thing you could do is to fill the transformer with epoxy, wax, thinned silicone, … but I don’t know about overheating or other faults this could cause.

Diamond Select John Wick PVC Figure on Amazon:
https://amzn.to/3qJwJuR

EL Wire kit with 5 different colors, but eg Aliexpress could be a lot cheaper:
https://amzn.to/3doUR1W

*The used link(s) is a so-called affiliate one. When you buy a product using this link, I will receive a small provision. The price itself does not change. Thanks so much for your support 🙂

Drink / Bottle Coaster and Holder, Anti-Stick

Loading file
  • Fullscreen
  • Wireframe
  • Zoom In
  • Zoom Out
  • Rotation
  • Screenshot
  • Help

Controls

×
  • Rotate with the left mouse button.
  • Zoom with the scroll button.
  • Adjust camera position with the right mouse button.
  • Double-click to enter the fullscreen mode.
  • On mobile devices swipe to rotate.
  • On mobile devices pinch two fingers together or apart to adjust zoom.
  • On mobile devices 3 finger horizontal swipe performs panning.
  • On mobile devices 3 finger horizontal swipe performs panning.

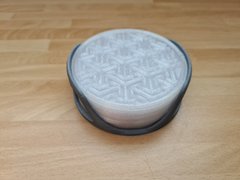
During the current warm temperatures cold beverage can build up quite some amount of condensation on the table, especially when using glass bottles right from the fridge.
There always was quite some puddle below the (Sodastream in the picture) bottle which I was tired of so I designed these coasters.

The arrow/triangle pattern provides several purposes:

  • hold the condensation
  • wet surface does not stick to flat bottoms of drinks
  • water in there can easily evaporate, no need to do anything

The lip around the coasters edge is a little bit higher so bottles/glasses don’t slide off.

The holder exists in two versions, one very basic and one more elaborate.

I have printed the coasters in transparent PETG which should make them quite resistant about getting wet all the time. And the higher temperature resistance isn’t to bad for direct sun light or putting them in hot water (to clean them) as well, I guess.

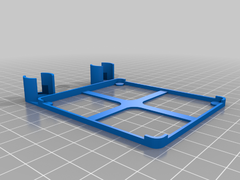
EBL Smart USB Charger Platform Battery Holder AA/AAA

Loading file
  • Fullscreen
  • Wireframe
  • Zoom In
  • Zoom Out
  • Rotation
  • Screenshot
  • Help

Controls

×
  • Rotate with the left mouse button.
  • Zoom with the scroll button.
  • Adjust camera position with the right mouse button.
  • Double-click to enter the fullscreen mode.
  • On mobile devices swipe to rotate.
  • On mobile devices pinch two fingers together or apart to adjust zoom.
  • On mobile devices 3 finger horizontal swipe performs panning.
  • On mobile devices 3 finger horizontal swipe performs panning.

I am using a simple USB charger to charge Eneloop AA batteries near my computer, so I wanted a simple holder of some sort to prevent them from rolling around.

This base clips in place and gives storage for two AA behind the charger.
Going from there I have mashed up several versions:

  • 2 AA behind
  • 4 AA on the right side
  • 4 AA on the left side
  • 4 AA on the left and right side: 8 AA in total
  • 4 AA/AAA on the left and right side: 8 AA/AAA in total

Sure thing, Eneloops aren’t the cheapest, but I’ve got several years old ones in my rotation (don’t know exactly, but about 40 to 50 in AA/AAA?!) and ALL OF THEM are still perfectly fine!

As an alternative I can say Powerowl batteries have impressed me lately. For their very compelling price point they are delivering fantastically! They are low self-discharge as well. Measuring the AA and AAA variants over 5 cycles gave lower numbers than advertised but still higher than the Eneloop.

Amazon links* of equipment I am powering by AA/AAA:
EBL Smart USB Charger AA/AAA (<10€)
16x AAA Powerowl low self discharge 1000 mAh (measured at ~900)
16x AA Powerowl low self discharge 2800 mAh (measured at ~2200)
8x AA Eneloop
8x AAA Eneloop
Asus Republic of Gamers Strix Carry Mouse
Microsoft Xbox Wireless Controller Phantom Black

*The used links are so-called affiliate ones. When you buy a product using this link, I will receive a small provision. The price itself does not change. Thanks so much for your support 🙂

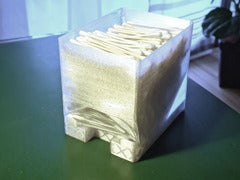
Cotton Swab Dispenser XXL

Loading file
  • Fullscreen
  • Wireframe
  • Zoom In
  • Zoom Out
  • Rotation
  • Screenshot
  • Help

Controls

×
  • Rotate with the left mouse button.
  • Zoom with the scroll button.
  • Adjust camera position with the right mouse button.
  • Double-click to enter the fullscreen mode.
  • On mobile devices swipe to rotate.
  • On mobile devices pinch two fingers together or apart to adjust zoom.
  • On mobile devices 3 finger horizontal swipe performs panning.
  • On mobile devices 3 finger horizontal swipe performs panning.

Modified the original to be quite a lot bigger, so it won’t waste space in my mirror wall cabinet.

Making it 4mm wider wasn’t quite nessecary, but oh well 🙂
about 120mm deep, about 120mm high

printed with transparent PETG by extrudr, which gives quite a good transparency with a wall thickness of 2 (default 0.4mm nozzle)

I did not make a fitting top/lid/cover, didn’t need one and knowing my printer … I just did not want to make 3 or 4 runs for a part to fit okay-ish that I don’t need. 😉

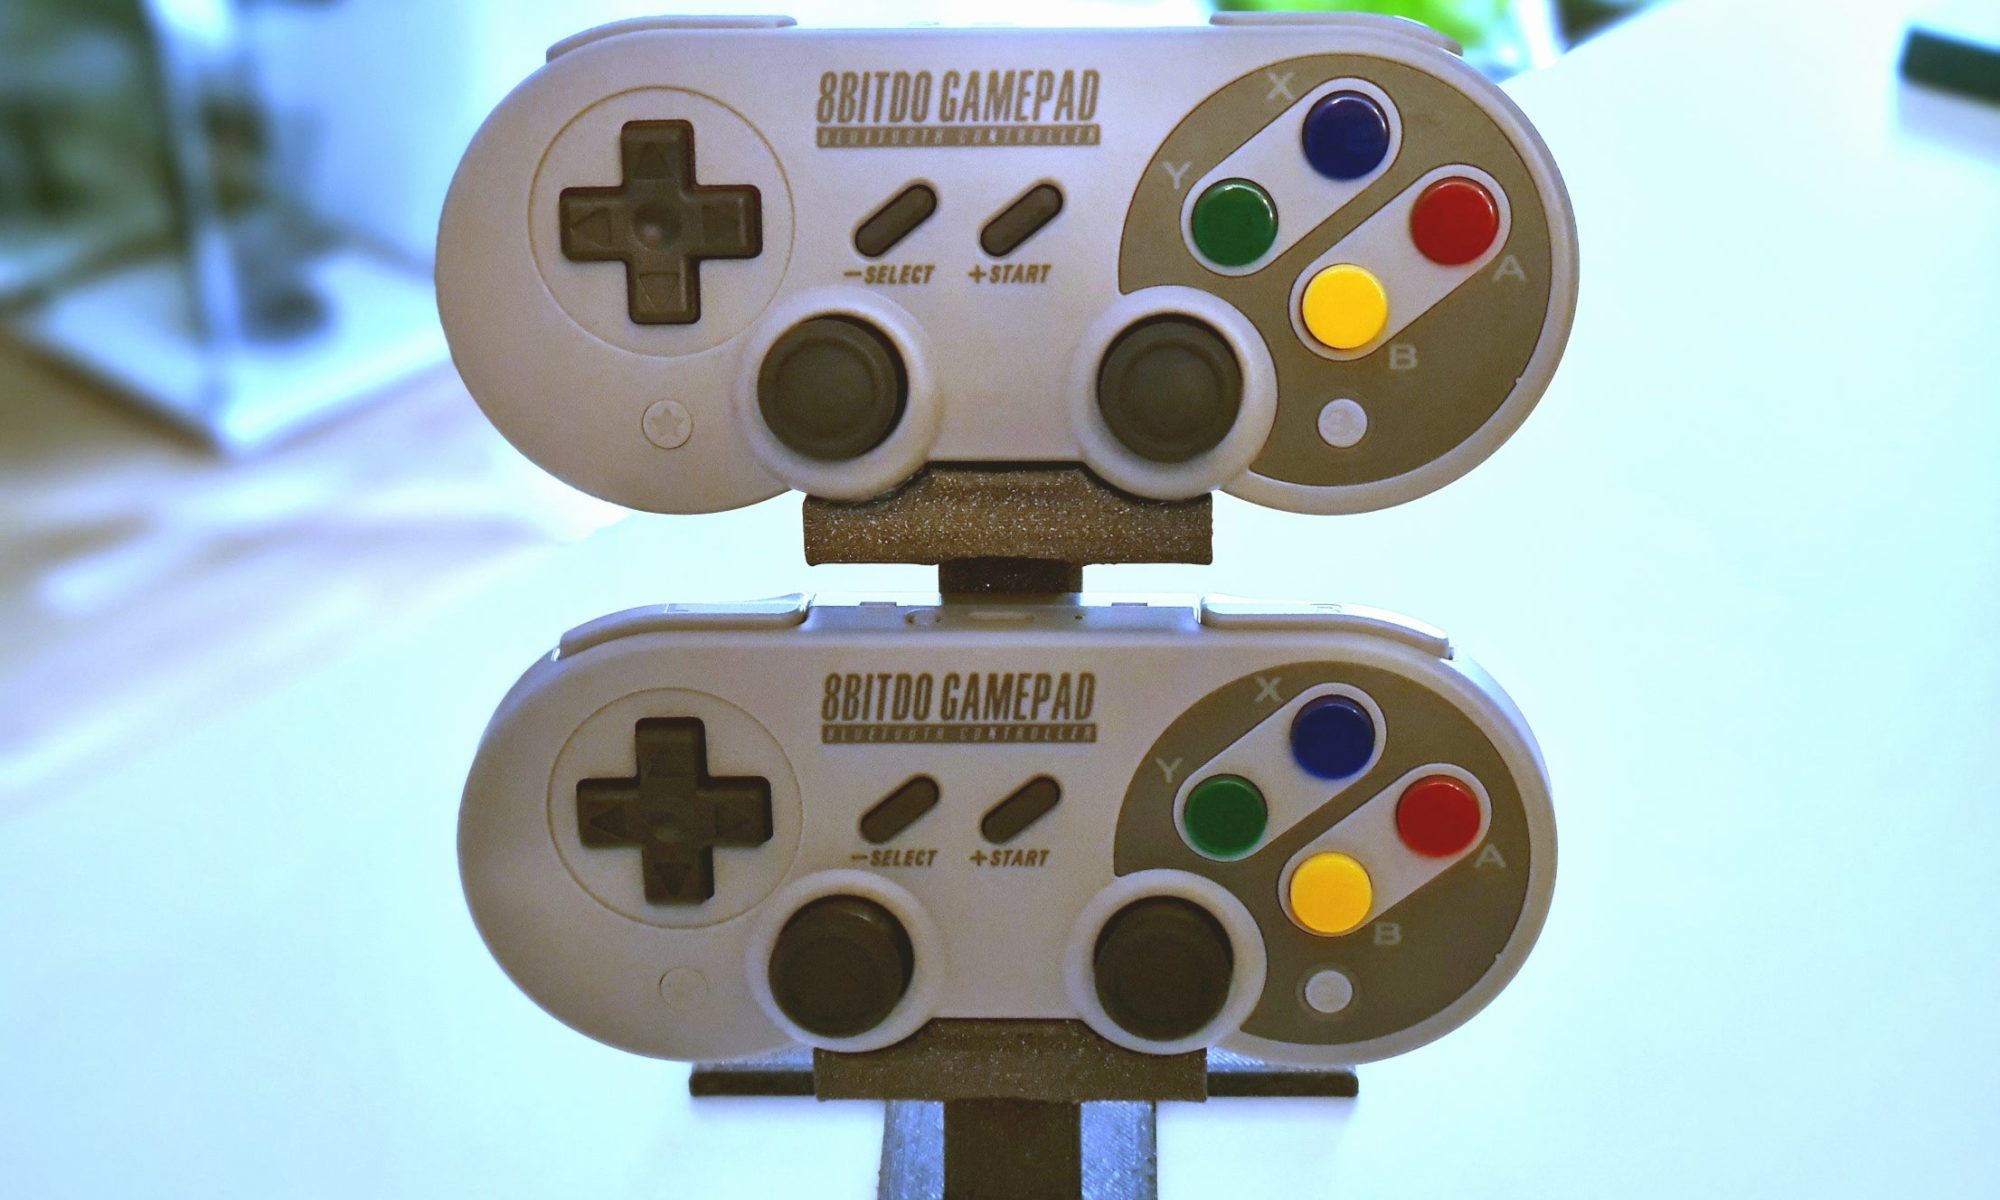
8bitdo SF30 Pro Dual Stand / Holder HIGH VERSION

I have made this quick and easily printable dual controller stand (high version) for my two 8bitdo SF30 Pros. You’ll probably need a little bit of glue to put the top and base parts together. With my printer/filament it was a tight snap fit but those are extremely random to get right. I would use glue anyway, wouldn’t want to risk this to fall apart with the controllers on 😉

3MF files are with separate meshes, if you like to change some proportions or something.
STL files are merged so you can drop them into your slicer.

PSVR HDMI Support and Clip (replaceable) solid

Loading file
  • Fullscreen
  • Wireframe
  • Zoom In
  • Zoom Out
  • Rotation
  • Screenshot
  • Help

Controls

×
  • Rotate with the left mouse button.
  • Zoom with the scroll button.
  • Adjust camera position with the right mouse button.
  • Double-click to enter the fullscreen mode.
  • On mobile devices swipe to rotate.
  • On mobile devices pinch two fingers together or apart to adjust zoom.
  • On mobile devices 3 finger horizontal swipe performs panning.
  • On mobile devices 3 finger horizontal swipe performs panning.

Modified in Windows 10 3D Builder, made the 2 slots for the HDMI/Power Plugs wider as the provided ones in the original were way to narrow for me.

REMOVED cut-outs for cleaner prints and not bombarding the poor printer with retractions. 😉

Made the clip more flexible and replaceable, because the fixed one (one solid cable clip) broke the first time in use.
Make sure you print them as provided (don’t rotate), so the print lines support the clip’s bend direction, otherwise the bending could separate the layers!

Fanatec Wheel Stand with Quick Release Mount

Loading file
  • Fullscreen
  • Wireframe
  • Zoom In
  • Zoom Out
  • Rotation
  • Screenshot
  • Help

Controls

×
  • Rotate with the left mouse button.
  • Zoom with the scroll button.
  • Adjust camera position with the right mouse button.
  • Double-click to enter the fullscreen mode.
  • On mobile devices swipe to rotate.
  • On mobile devices pinch two fingers together or apart to adjust zoom.
  • On mobile devices 3 finger horizontal swipe performs panning.
  • On mobile devices 3 finger horizontal swipe performs panning.

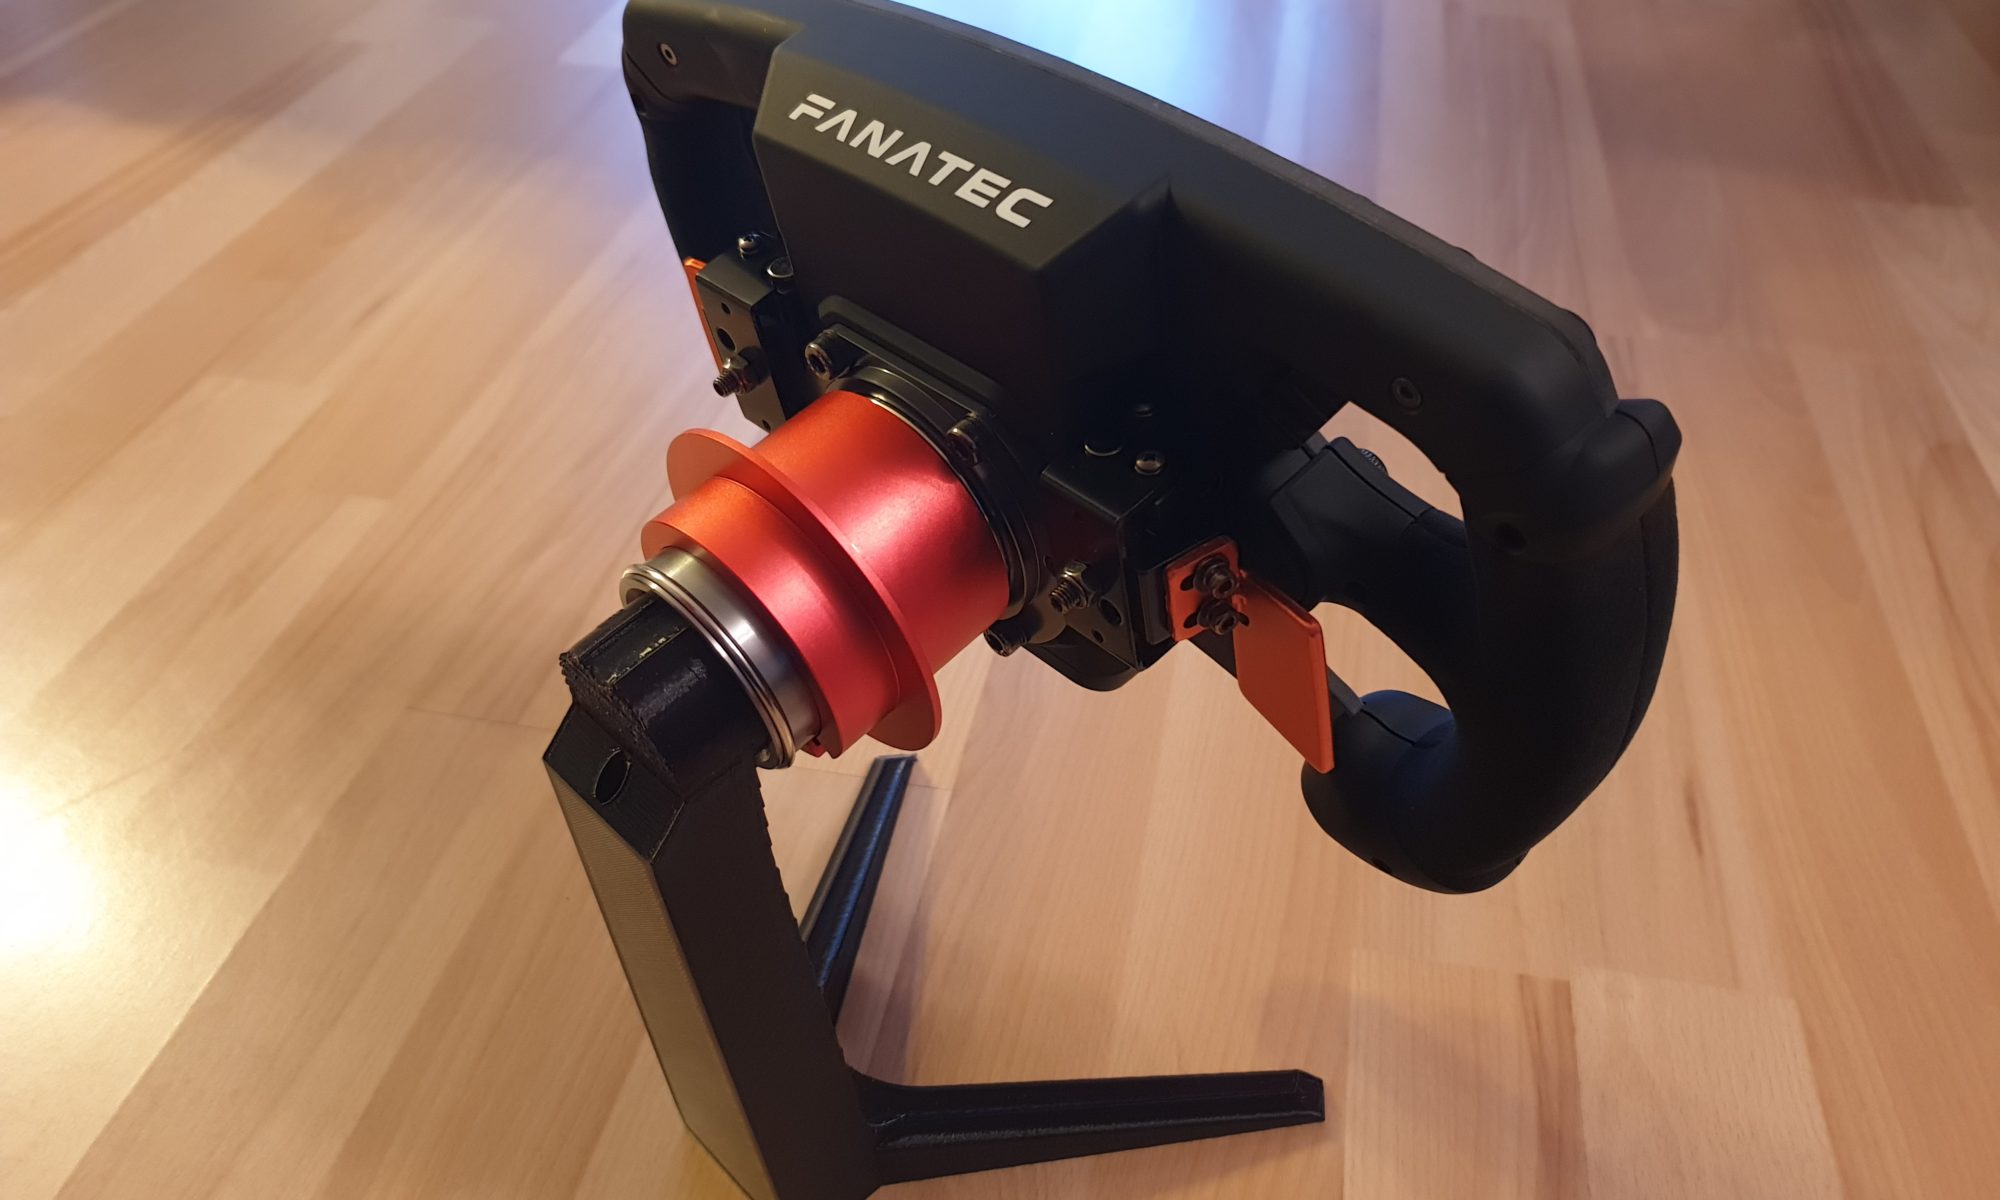
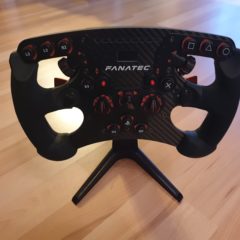
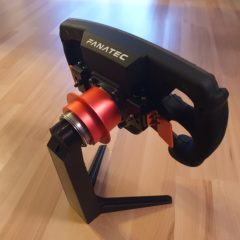
I wanted a place where I could store my spare/currently unused Fanatec wheel but did not want to just lean it against or mount it onto a wall.

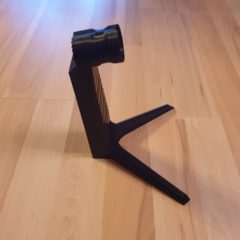
So I’ve tried to create a stand similar to some of those headphone stands you can find here as well.

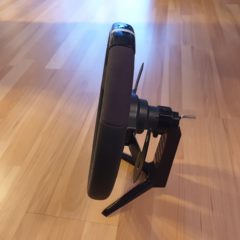
I have used the Fanatec wall mount adapter by blazze11 (see remix section) and attached it onto a self-made stand which was done in Fusion 360. Not knowing how sturdy the end result would be in PLA I have made it relatively thick and used 20% infill.
The main stand’s pillar is tilted back so the wheel’s center of gravity is a little more towards the back as well and the whole thing isn’t too front-heavy and won’t easily be tipped over.

The end result seems fine overall but as always feel free to modify it – please post it as a remix though, I am curious about your ideas as well!

Printing with the Anycubic Mega-S I had to pretty much max out the maximum build volume, so I had no more space for brim or skirt – adjust your slicer settings accordingly or use the 3mf file to scale the stand itself a little if you have to. Don’t forget to move the quick release mount to an appropriate position if you modify the stand, though.
I have made the stand the way it is so scaling it only in eg. Z direction won’t be too noticeable.

STL: one object, print this if you do not have to make size adjustments
3MF: multiple objects, scale down the stand if you have to, move the quick release mount to the new position and save as single object/merged to print

Despite its size the print only took about 7 hours.

Oh, the hole at the back is for storing the allen wrench / hex key that is needed for the CSL Elite wheel. I should have made a second hole to store the screw as well, but I noticed it tends to slip out of the semi quick release mechanism after everything was done … 😉

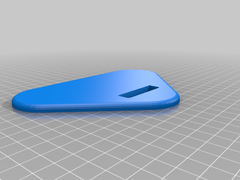
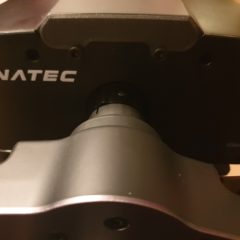
Fanatec CSL Elite Base Rev LED Dimming Plate

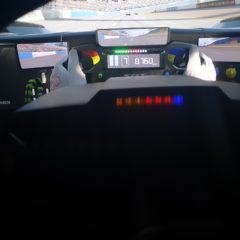
It’s great to have such bright LEDs. However I mostly don’t do manual shifting, so they are drawing too much attention. So I’ve designed this Revolution LED Dimming Plate.

The amount of dimming is directly related to your choice of filament, just scale the STL in Z direction to accommodate for that.

I printed this using Redline Filament Glitzer PLA Eisengrau.
I have bought M6x10 screws in black, because standard philips screwheads in shiny silver just didn’t fit aesthetically.

Redline Glitzer Filament PLA 1,75mm Eisengrau: https://amzn.to/2qT4tvR
M6x 10mm Button Head Innensechskant schwarz: https://amzn.to/2RVeAeE
Zylinderschrauben M6x10 DIN 912 10 Stück schwarz: https://amzn.to/2YOjAmO

Those URLs are affiliate links. When you buy the product using this link, I will receive a small provision. The price itself does not change. Thanks for your support 🙂