
Wet palette for miniature painting. Keeping your paint wet and saving it for later use. Using a 1/4 of a Wettex cloth (Swedish Absorbent Dishcloth) to hold the water and baking paper on top held down by the frame. Bulit to fit smaller build plate. Use the frame to cut the size of the palette paper. Enjoy!
Fanatec Wheel Stand with QR2 Quick Release Mount (2023 QR2)
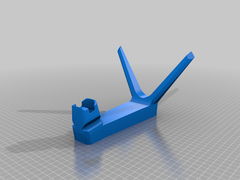
Due to Rewbin asking over at my Fanatec QR Wheel Stand in the comments … I quickly edited that one to work for the new 2023 QR2 quick release mechanism (probably, please confirm). Tried to maintain the original dimensions/positions to make it still fit in one piece on the build plate.
So please note: this is untested as I do not own a QR2 wheel and base.
As this is a functional part and the wheel can be heavy, take this into account when choosing your filament, number of perimeters and infill percentage.
Mine from almost 4 years ago (obviously QR1, not QR2) is still fine using PLA with 3 perimeters and 20% infill though, but your mileage may vary.
Thanks very much to Thrilex for providing a model of the mount stub.
Please note: this is the QR2 version (bars)!
Get the QR1 version here …
Modular Number – Life – Score Counter
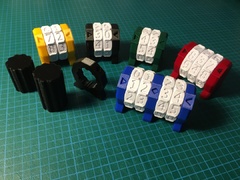
This is a remix of the great model https://www.thingiverse.com/thing:4778677 (which itself is loosely remixed from others, but has a much simpler digit ring design),
with the following changes:
- The left side and stem are separated into two pieces.
- I added a new middle piece which can be used as a separator (I personally prefer the „slim“ middle piece, but I’ve also included a „thick“ one).
- The stem length can be customized via parameters in the Fusion 360 file (I included a few sample lengths).
- All of these pieces can now easily be mixed and matched, so you’re not stuck
with one layout (see the photo for some examples).
All necessary files (including the two versions of the digit ring) are included for your convenience.
Assembly:
Print one each of the left and right side, optionally one or more middle pieces, one stem of the correct length for your configuration, and the necessary copies of the digit ring (note that there are two versions, turning up- or downwards to count up).
The left and right end pieces fit very tightly onto the stem on purpose, but I’ve added some tolerance for the middle piece so it can be slid around. You should still be able to remove the ends with some gentle force, if you ever want to reconfigure your pieces.
Customization:
I’ve included the Fusion 360 file with all necessary parts, in case you want to
tinker more with it – like creating longer stems, or adding a logo, or adjusting the tolerance for the middle piece, etc.
Printing:
This should print quite easily with all materials, without any brim, raft or
supports. I recommend a smaller layer height for the digit rings (and possibly a
brim), but the main parts print well with 0.2 mm resolution.
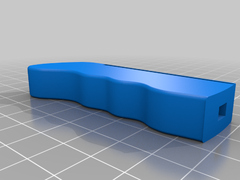
Miyoo Mini Plus Controller Grip
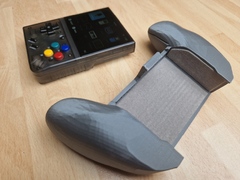
This controller grip is for the Miyoo Mini Plus and should be used with self-adhesive felt.
Btw: the grooves/slits are there so the seams are not on the surface of the print.
Please use the .stl provided or if you like the .gcode.
I have added the open .3mf files but due to an accident v4 already is the final, substracted form, so please bear in mind that v3 with separate elements is a little older.
This took several hours and about 5 prototypes to make yet it isn’t perfect … hope you’ll like it anyways.
Items from Amazon DE
*self-adhesive velvet flocking sheets:
https://amzn.to/3YimvTv
*The used link(s) is/are so-called affiliate link(s). When you buy a product using this link, I will receive a small provision. The price itself does not change. Thanks so much for your support 🙂
Miyoo Mini Plus Cad Model
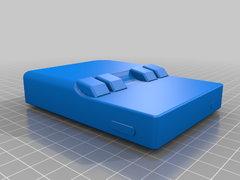
Hey Everybody!
Since I’m making my own case for the Miyoo mini plus, I am also uploading my carefully measured reference model I made so other people can create their own case.
Game Boy Patent Art with Logo
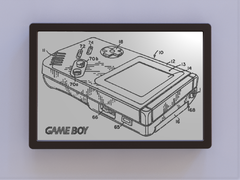
Use a color swap for the line work to add contrast or simply color the lines with a marker or paint pen (I find a Sharpie works well).
The frame that allows the picture to hang on a wall or stand on a desk / shelf. Just snap the picture in.
Recommendation: A thin version at 2mm total thickness is included to reduce material and print time. This also avoids infill becoming visible if the drawing is back-lit.
Important: Be sure to allow the print to fully cool before removing from the build plate to avoid warping it while still warm.
If you are having trouble printing thin lines or the slicer preview is missing lines, try the Arachne perimeter generator in PrusaSlicer 2.5 or later.
ASSASSINS KNIVES
Armas personalizadas con el rostro de personajes de películas de terror
Glasses Holder / Stand
I have angled the holders slightly, moved them a little closer (about 5mm) and changed the main back to be polygonal so I don’t have to deal with the print quality of rounded surfaces when printing in this orientation.
Thanks for the original model – nothing wrong with that by the way, just personal preference or „may be’s“ 😀
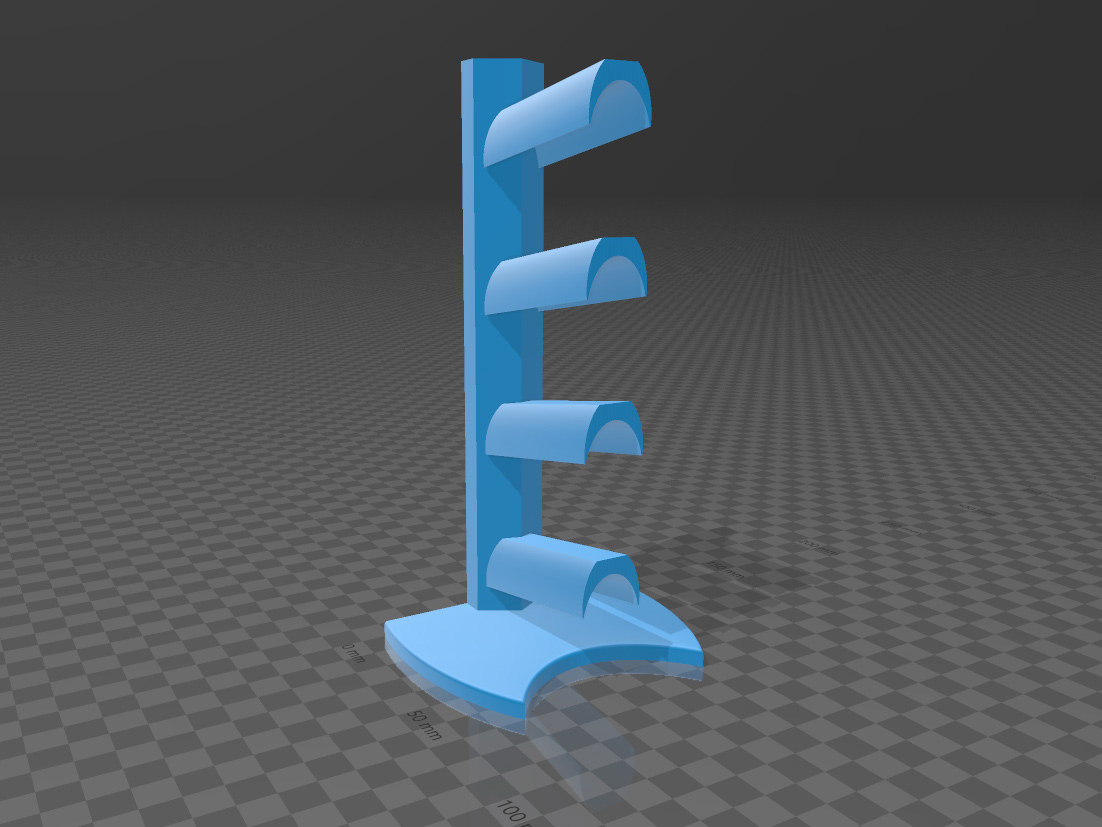
Headphone stand with optional mouse bungee

Headphone stand with optional mouse bungee, of „bottom_nut“ there are two versions, the second one has a small holder for the Hyperx Cloud II controller.
It is necessary print 2 „screw_16“.
UPDATE: Blink Kamera Halterung Anycubic i3 Mega S Camera mount Amazon
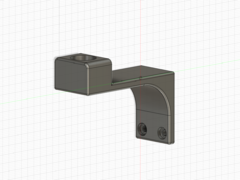
Ich habe hier eine Halterung für die Amazon Blink mini WLAN Kamera entworfen. Die Halterung wird auf der linken Seite an den 2 oberen Schrauben befestigt. Die Kamera kann mit dem original Kugelkopf einfach eingeklipst werden.
UPDATE:
Nun ist die Halterung auch in Verbindung mit „LED-Holder V.1.5 – ANYCUBIC I3 MEGA
by Hiob“ zu gebrauchen.